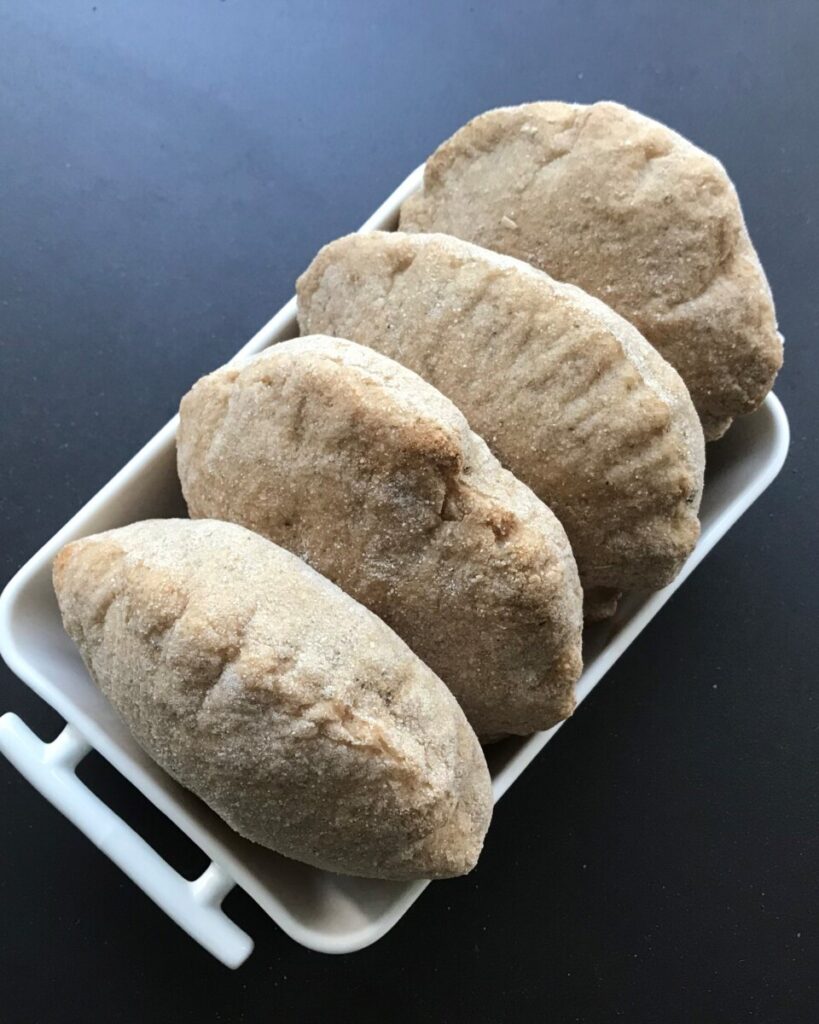
Classics Pita Bread! I am a fan of pita bread because you have various filling options. Another reason is that it’s a kid-friendly meal too and they can put whatever they prefer and like. For me, that’s a win, win situation!
I have tried buying gluten-free pita bread. However, I often find them very dry, and most contain cornflour too, which I must be careful with. Instead, I have been looking for some good gluten-free recipes for a long time. Finally, I tried two different types. I found the dough hard to work with; get them to puff up with a pocket, and it became drier too. Therefore, the last one is the best if you ask me, as the pita bread is more soft and moist and got a good pocket. Also, the dough is easy to work with. If there is no pocket, you can easily use a knife to make a pocket. So no need to worry!
Classics Pita Bread. Mostly, I use minced beef (you could use the Mexican Tortillas recipe with minced meat), and occasionally I also choose chicken I marinated. When serving pita bread, I often find the table inviting and colourful with different vegetables and greens.
I have been looking forward to sharing the recipe with you!
Classics Pita Bread (Low FODMAP & Gluten-Free)
5 Stars 4 Stars 3 Stars 2 Stars 1 Star
No reviews
Classics Pita Bread! where you can have various filling options, and it is a kid-friendly meal too!
- Author: RauJensen
- Yield: 8 1x
- Category: Bread
- Diet: Gluten Free
Ingredients
7 dl luke-warm water
6g Dry yeast
25g Psyllium husk seeds
2 tsp Apple cider vinegar
3 tsp Salt
1/2 tsp Tarragon
125g Sorghum flour
100g Potato starch
200g Whole-grain rice flour
Instructions
Dry yeast, salt, spices, apple cider vinegar, and psyllium husk seeds with lukewarm water and stir. Add the rest of the ingredients.
Turn the mixer to a medium speed and mix until combined for five minutes. Continue for an additional 10 minutes at high speed. I recommend doing it longer if you have time because you can never have too much air in your bread.
Let the dough rise for 1 hour with a cloth over the bowl.
Turn the oven to 250C. With a baking tray inside.
Turn the dough onto a lightly floured surface and knead it carefully so it’s no longer sticky. Divide into eight pieces and roll the dough into balls. Use a rolling pin to roll each ball into an excellent round shape.
The pita bread needs 7 minutes in the oven or until they are done. The bread will be puffed and light golden at the edges.
You can freeze the rest for another good time if you have leftovers.
Notes
Eat & Enjoy!

